
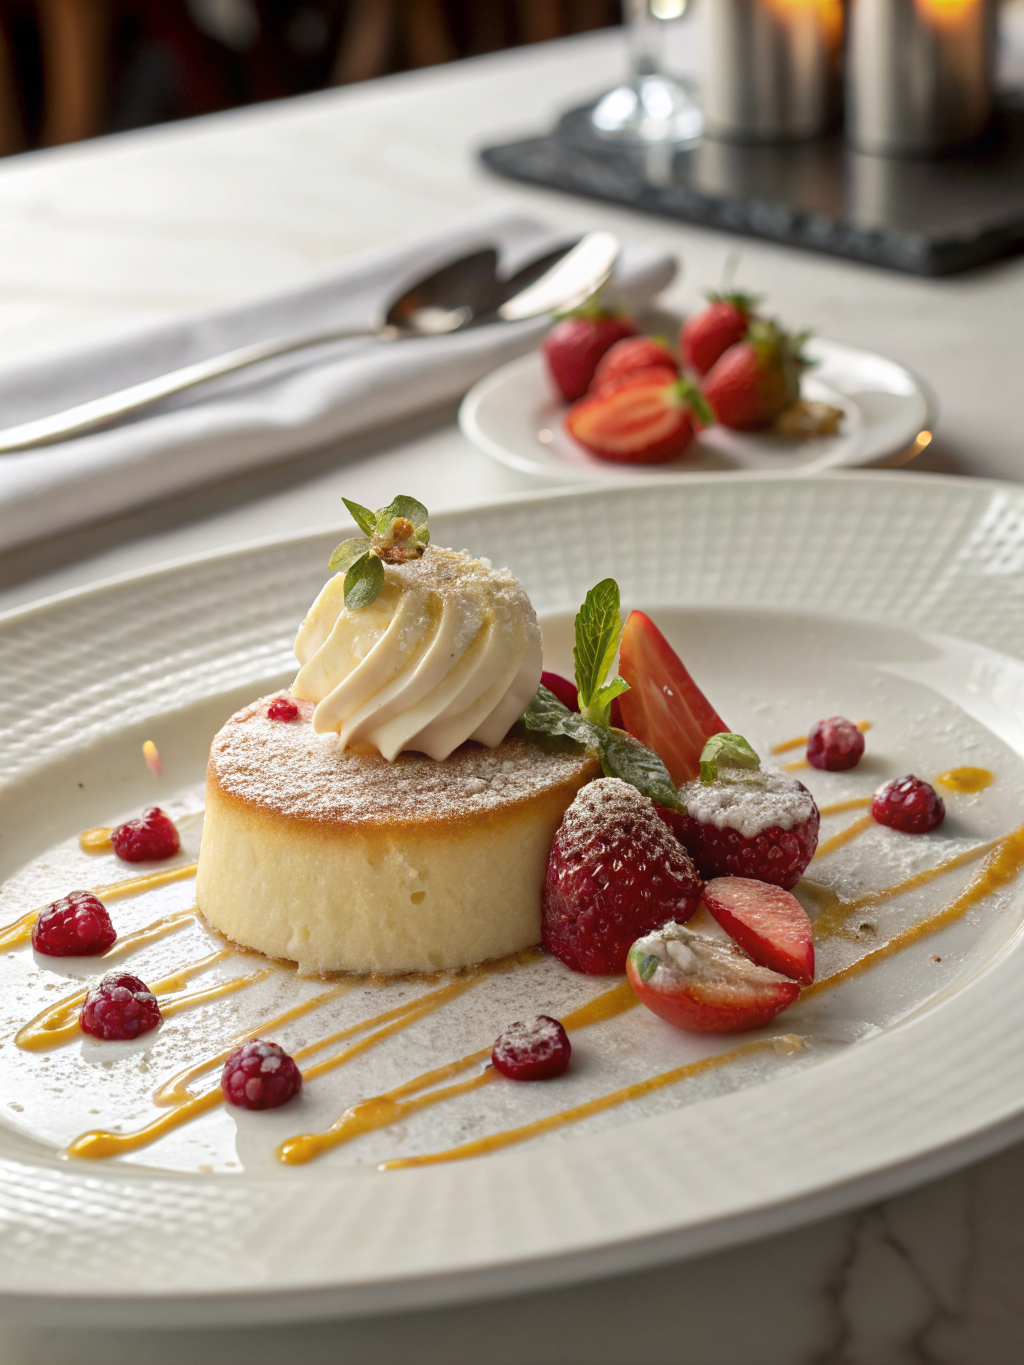
Elegant Desserts Every Baker Should Try
Did you know that desserts with contrasting textures—crisp, creamy, airy, and glossy—are rated as more memorable by diners because they stimulate multiple senses at once? That’s why pastry classics like fruit tarts, mousse cakes, and éclairs feel so luxurious without always requiring professional equipment. Today, we’re making a bakery-style Vanilla Berry Mascarpone Tart, one of those Elegant Desserts that looks stunning, tastes refined, and is surprisingly achievable at home. Inspired by classic pastry techniques and French bakery recipes , this recipe balances buttery pastry, silky cream, and jewel-toned berries.
Ingredients
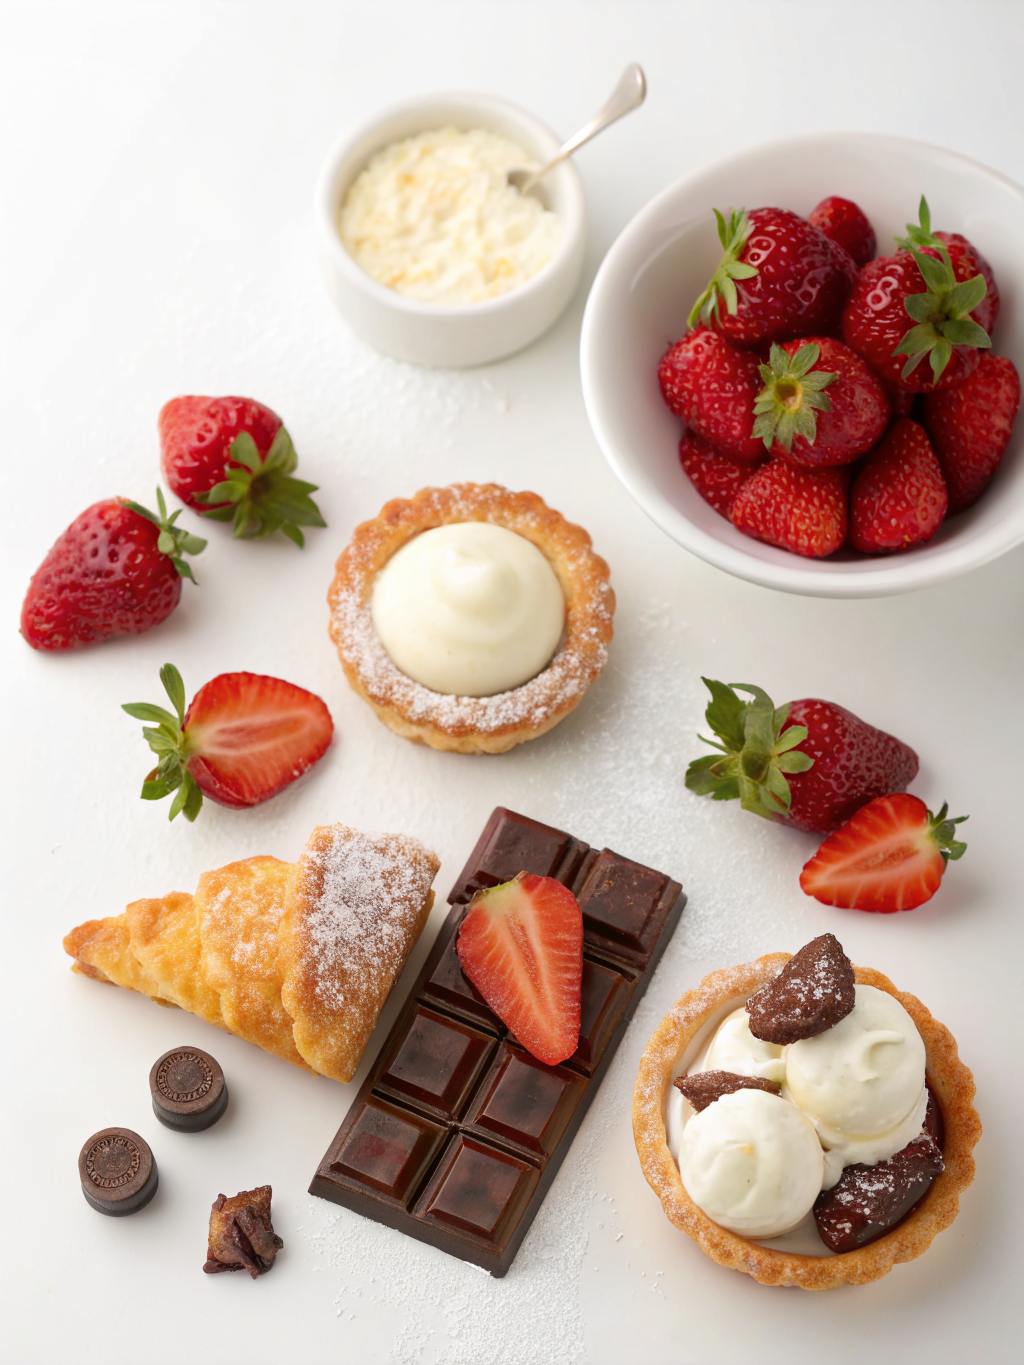
For this refined dessert, you’ll build three simple components: a crisp tart shell, a velvety mascarpone filling, and a glossy fruit topping.
For the Tart Crust
- 1 ¼ cups all-purpose flour, sifted for a delicate crumb
- ¼ cup powdered sugar for a tender, melt-in-your-mouth texture
- ½ cup cold unsalted butter, cubed
- 1 large egg yolk
- 1–2 tablespoons ice water
- ¼ teaspoon fine sea salt
Substitutions: Use pastry flour for an even softer crust, or swap ¼ cup flour with almond flour for a subtle nutty aroma.
For the Mascarpone Cream
- 8 oz mascarpone cheese, chilled
- ½ cup heavy cream, cold
- ⅓ cup powdered sugar
- 1 teaspoon pure vanilla extract
- 1 teaspoon lemon zest for brightness
Substitutions: Cream cheese works in a pinch, though mascarpone gives a smoother, more luxurious finish.
For the Berry Topping
- 1 cup fresh strawberries, sliced
- ½ cup raspberries
- ½ cup blueberries
- ¼ cup blackberries
- 2 tablespoons apricot jam, warmed
- 1 teaspoon lemon juice
Choose berries that smell sweet and vibrant. In elegant pastry, fragrance matters as much as appearance.
Timing
- Preparation time: 30 minutes
- Chilling time: 45 minutes
- Baking time: 20 minutes
- Assembly time: 15 minutes
- Total time: About 1 hour 50 minutes
This tart takes under two hours, which is roughly 25% faster than many layered celebration cakes that require multiple bakes, fillings, and frostings. Better yet, most of the time is hands-off chilling, making it ideal for weekend baking or entertaining.
Step-by-Step Instructions
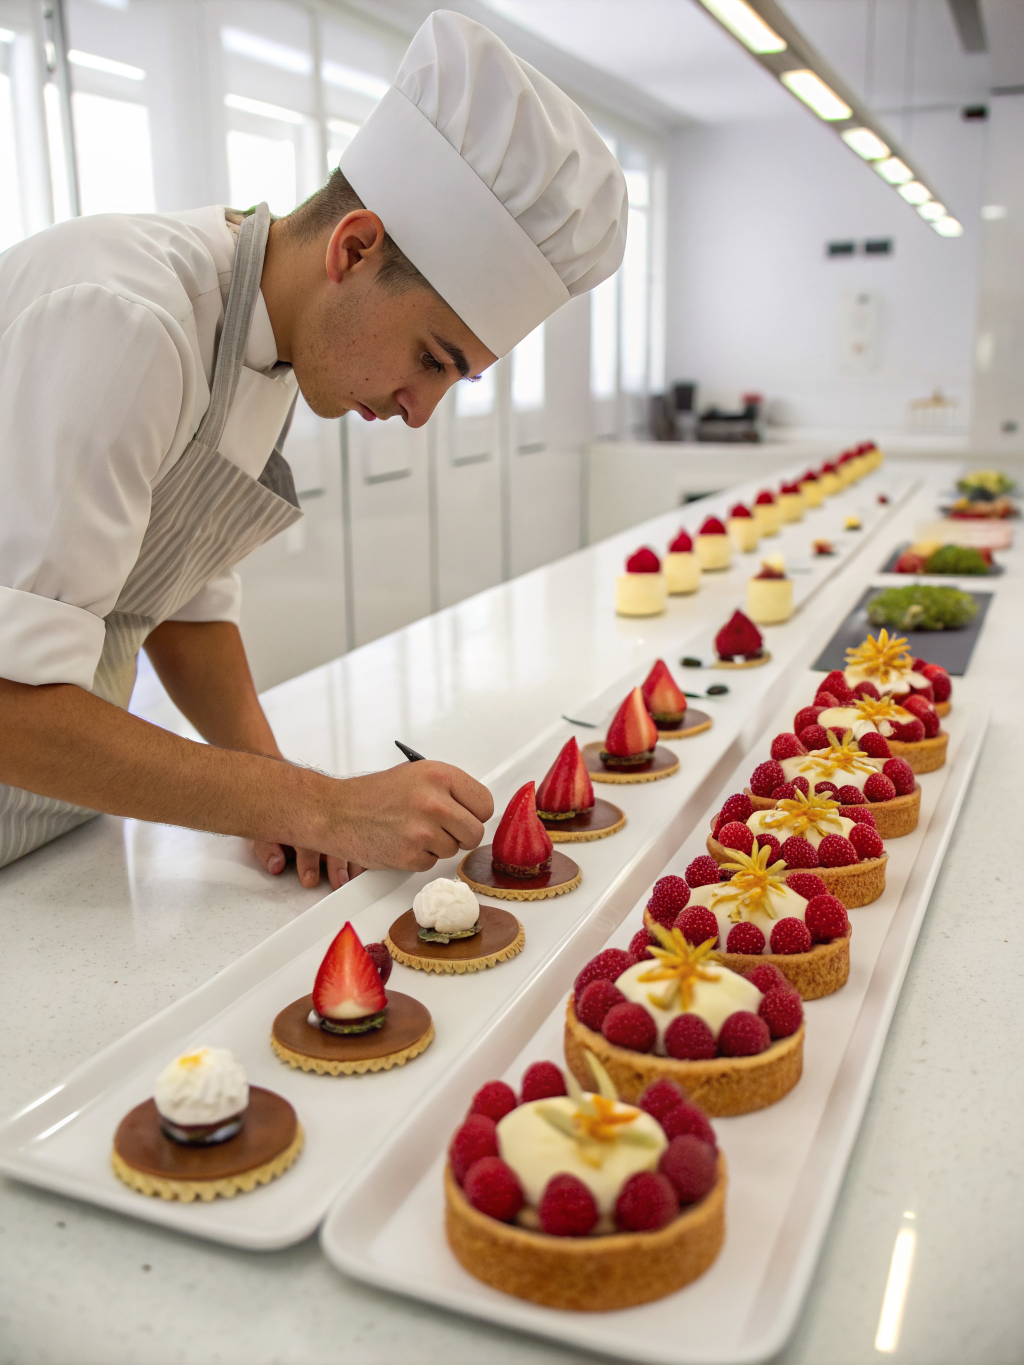
Step 1: Make the Buttery Tart Dough
In a mixing bowl, whisk together flour, powdered sugar, and salt. Add the cold butter and rub it into the flour using your fingertips until the mixture looks like coarse sand with pea-sized butter pieces.
Add the egg yolk and one tablespoon of ice water. Mix gently until the dough begins to come together. If it feels dry, add another teaspoon of water at a time.
Pro tip: The less you handle the dough, the flakier your tart shell will be. Overworking activates gluten, which can make pastry tough instead of delicate.
Step 2: Chill and Roll the Dough
Shape the dough into a flat disc, wrap it in plastic wrap, and chill for at least 45 minutes. Once chilled, roll it on a lightly floured surface into a circle about ⅛ inch thick.
Transfer it carefully into a 9-inch tart pan. Press it into the edges, trim the excess, and prick the base with a fork.
If you love bakery-level results, chill the shaped crust for 10 extra minutes before baking. This reduces shrinkage and keeps the tart shell sharp and professional-looking.
Step 3: Blind Bake the Tart Shell
Preheat the oven to 375°F. Line the crust with parchment paper and fill it with pie weights, dried beans, or rice. Bake for 15 minutes, then remove the weights and bake for another 5 minutes until lightly golden.
Let the shell cool completely before adding the cream. A warm crust can melt the filling and make the base soggy.
Step 4: Whip the Mascarpone Cream
In a chilled bowl, beat mascarpone, heavy cream, powdered sugar, vanilla, and lemon zest until smooth and softly whipped. The texture should be thick enough to hold gentle peaks but still silky.
Personalized tip: If you prefer a less sweet dessert, reduce the sugar to ¼ cup and add a pinch of salt. It enhances the dairy richness and makes the berries taste brighter.
Step 5: Fill the Tart Shell
Spoon the mascarpone cream into the cooled tart shell and spread it evenly using an offset spatula. Create gentle swirls if you want a rustic look, or smooth it flat for a polished pâtisserie-style finish.
This is where Elegant Desserts shine: clean layers, balanced sweetness, and visual contrast.
Step 6: Arrange the Berries
Place the berries over the cream in concentric circles, diagonal rows, or a natural scattered pattern. For a dramatic centerpiece, start with strawberries around the edge, then layer raspberries, blueberries, and blackberries toward the center.
Warm the apricot jam with lemon juice and gently brush it over the fruit. This creates a glossy finish and helps preserve freshness.
Step 7: Chill Before Serving
Refrigerate the tart for at least 20 minutes before slicing. This allows the cream to set slightly and helps create cleaner cuts.
For best presentation, use a sharp knife wiped clean between slices. Small details make a big difference with elegant plated desserts.
Nutritional Information
Approximate nutrition per slice, based on 10 servings:
- Calories: 315
- Total fat: 22g
- Saturated fat: 13g
- Carbohydrates: 27g
- Sugar: 12g
- Protein: 4g
- Fiber: 2g
- Sodium: 95mg
Compared with many frosted layer cakes, which can exceed 450 calories per slice, this tart offers a lighter yet satisfying dessert experience. The berries add antioxidants, vitamin C, and fiber, while mascarpone provides richness in a smaller portion. For the best nutritional balance, serve modest slices with extra fresh fruit.
Healthier Alternatives for the Recipe
If you want to make this recipe lighter without losing its sophisticated flavor, try these smart swaps:
- Use Greek yogurt: Replace half the mascarpone with thick Greek yogurt for added protein and tang.
- Reduce sugar: Cut powdered sugar by 25% and rely on ripe berries for natural sweetness.
- Choose whole wheat pastry flour: Swap half the all-purpose flour for whole wheat pastry flour to add fiber while keeping a tender crust.
- Make it gluten-free: Use a 1:1 gluten-free baking flour blend. Chill the dough well because gluten-free pastry can be more delicate.
- Dairy-free option: Use plant-based butter, coconut cream, and vegan cream cheese. The result will be slightly different but still creamy and beautiful.
- Lower-fat variation: Use light cream cheese with Greek yogurt, though the filling will be tangier and less rich than mascarpone.
These options make the tart adaptable for different households, from brunch guests to health-conscious dessert lovers.
Serving Suggestions
Serve this Vanilla Berry Mascarpone Tart chilled, ideally within a few hours of assembly. It pairs beautifully with espresso, Earl Grey tea, sparkling rosé, or a lightly sweet dessert wine.
For a dinner party, plate each slice with a drizzle of raspberry coulis and a few mint leaves. For a casual family treat, dust the top with powdered sugar and let the berries speak for themselves.
Want to personalize it by season? Use peaches and cherries in summer, figs and honey in early fall, or citrus segments and pomegranate in winter. This flexibility is why fruit tarts remain among the most timeless Elegant Desserts for home bakers.
Common Mistakes to Avoid
- Skipping the chill time: Warm dough shrinks more during baking. Chilling helps maintain structure.
- Overwhipping the filling: Mascarpone can become grainy if beaten too long. Stop when the cream holds soft peaks.
- Adding filling to a warm shell: Heat melts the cream and ruins the texture. Always cool completely.
- Using wet berries: Moisture can thin the cream and soften the crust. Pat fruit dry before arranging.
- Overloading the tart: Too much fruit may look abundant but can make slicing messy. Aim for a balanced, single-layer design.
- Forgetting the glaze: A light glaze adds shine and helps protect the berries from drying out.
In pastry, precision matters. Even small steps—like drying berries or chilling dough—can improve your final result dramatically.
Storing Tips for the Recipe
Store the assembled tart in the refrigerator for up to 2 days. Cover it loosely with plastic wrap or place it in a cake carrier to protect the fruit and cream.
For best texture, store the tart shell separately if preparing ahead. You can bake the crust one day in advance and keep it at room temperature in an airtight container. The mascarpone filling can also be made 24 hours ahead and refrigerated.
Avoid freezing the assembled tart. The cream may separate, and fresh berries can become watery after thawing. If you must prep far ahead, freeze only the unfilled baked crust for up to one month.
Conclusion
This Vanilla Berry Mascarpone Tart proves that Elegant Desserts do not have to be intimidating. With a crisp buttery crust, cloud-like mascarpone cream, and glossy fresh berries, you can create a dessert that feels straight from a pastry case while staying approachable for home bakers.
Try it for your next brunch, birthday, dinner party, or quiet weekend baking project. If you make it, share your favorite fruit combination, experiment with seasonal toppings, and explore more bakery-style inspiration from trusted pastry resources and classic French bakery recipes .
FAQs
Can I make this tart ahead of time?
Yes. Bake the tart shell and prepare the filling one day ahead. Assemble with berries a few hours before serving for the freshest texture and appearance.
Can I use frozen berries?
Fresh berries are best because frozen berries release more liquid as they thaw. If using frozen fruit, thaw and drain it thoroughly, then use it as a compote rather than a fresh topping.
What can I use instead of mascarpone?
Cream cheese, whipped ricotta, or a mix of Greek yogurt and cream cheese can work. Mascarpone gives the smoothest and most luxurious result.
How do I keep the crust from getting soggy?
Make sure the crust is fully baked and cooled. You can also brush the inside with melted white chocolate before adding the cream to create a moisture barrier.
Is this recipe beginner-friendly?
Absolutely. It uses classic pastry methods but keeps the process simple. If you can chill dough, blind bake, and whip cream, you can make this tart successfully.
Can I turn this into mini tartlets?
Yes. Divide the dough into mini tart pans and reduce baking time to about 10–12 minutes with weights, then 3–5 minutes uncovered. Mini versions are perfect for parties and dessert tables.